

How to Avoid Common Mistakes When Buying Remote Land
October 21, 2025How to Check if Land is Buildable Before You Buy
October 21, 2025Getting water to your rural land can feel like one of those big hurdles when you’re starting out. You’ve got your property, maybe a well or a creek, but how do you actually get that water where you need it without running power lines or dealing with expensive generators? A solar-powered water pump might be just the solution you’re looking for.
The good news is that solar pumping has become much more affordable and accessible over the past few years. You don’t need to be an electrical engineer or spend a fortune to get reliable water on your property. Let me walk you through how to set up a system that actually works without breaking the bank.
Understanding What You’re Working With
Before you buy anything, you need to know what you’re pumping from and where it needs to go. Walk your property and think through the basics: Do you have a well, a spring, a creek, or a pond? How far is your water source from where you need the water? And most importantly, what’s the elevation difference between the two?
That elevation number matters more than most folks realize. If you’re pumping water uphill 50 feet versus 10 feet, that’s going to affect which pump you need and how much solar power it takes to run it. Measure it as best you can, even if it’s just a rough estimate to start.
Also consider how much water you actually need. If you’re just filling a stock tank once a week or watering a small garden, your needs are very different from someone who wants to supply a cabin or water livestock daily. Most small solar setups can handle anywhere from 200 to 1,000 gallons per day depending on your setup.
Choosing Your Pump Type
You’ve got two main types of solar pumps to choose from, and picking the right one makes all the difference.
Surface pumps sit above ground and pull water up from shallow sources. They’re great if your water is less than 20 feet down or if you’re pulling from a creek or pond. These are usually the most affordable option and the easiest to maintain since everything’s accessible. I’ve seen plenty of folks successfully use these for irrigation and livestock water.
Submersible pumps go down into the well and push water up. If you’ve got a drilled well or your water source is deeper than 20 feet, this is what you need. They cost a bit more upfront, but they’re more efficient for deep water and they’re protected from weather and freezing.
For most rural landowners just starting out, a small DC-powered pump in the 12-volt or 24-volt range gives you the best bang for your buck. These run directly off solar panels without needing complicated inverters or controllers.
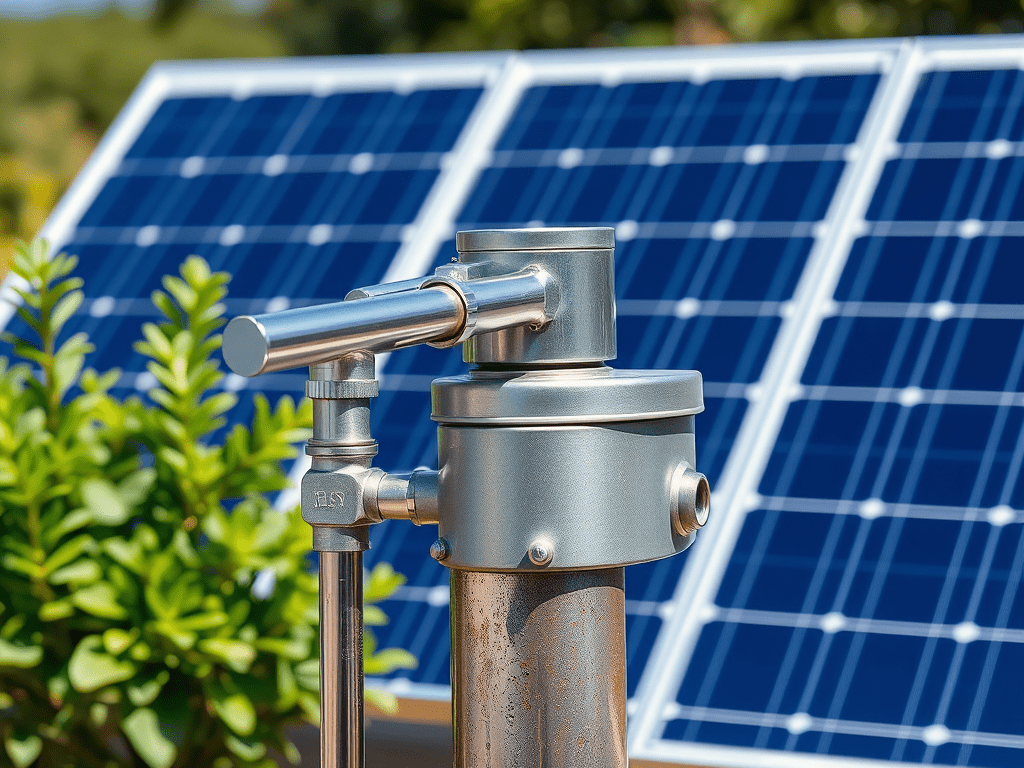
Getting the Solar Power Right
Here’s where people often get overwhelmed, but it’s actually pretty straightforward once you break it down.
Most small water pumps need between 50 and 200 watts of solar power to run effectively. A basic setup might include one or two 100-watt solar panels, which you can find for reasonable prices these days. The key is matching your panel output to your pump’s power needs with a little extra capacity for cloudy days.
You’ll want to mount your panels where they get good southern exposure (assuming you’re in the northern hemisphere) and aren’t shaded by trees. Even partial shade can significantly reduce your output. A simple ground mount or a basic frame works fine. You don’t need fancy tracking systems for small setups.
Many pumps come with built-in controllers that prevent them from running when the sun isn’t strong enough, which protects your equipment. If yours doesn’t, you can add a simple solar pump controller for around $50-100.
Setting Up Your System
The actual installation isn’t as intimidating as it might seem. Start with your water source. If you’re using a submersible pump, you’ll lower it into your well with the intake at least a few feet above the bottom to avoid sucking up sediment. Surface pumps need a good strainer on the intake line to keep debris out.
Run your water line to wherever you need it. Basic polyethylene pipe works fine for most applications and it’s affordable. If you’re in an area that freezes, bury your line below the frost line or plan to drain it for winter.
Connect your solar panels to your pump following the manufacturer’s instructions. Most systems use basic MC4 connectors that snap together easily. Make sure your connections are weatherproof and your wiring is properly sized for the power you’re running.
Consider adding a storage tank at your destination point. This gives you a reserve of water and means your pump doesn’t have to run every single time you need water. Even a simple 300-gallon tank can make your system much more practical.
The Reality Check
Let’s be honest about what solar pumping does well and where it has limitations. On sunny days, a properly sized system works beautifully. You’ll have water flowing whenever the sun is shining, and if you’ve got battery backup, you can pump into the evening too.
But solar pumping is generally slower than electric or gas-powered pumps. You’re not going to fill a 1,000-gallon tank in an hour. This is a steady, reliable trickle rather than a flood. That’s fine for most rural land applications, but it’s something to plan around.
Weather matters too. A string of cloudy days will slow down your pumping. That’s why having storage tanks makes such a difference. They let you build up reserves during good weather to carry you through the slower times.
Keeping Costs Reasonable
You can set up a basic solar water pumping system for somewhere between $300 and $1,000 depending on your needs and how much DIY work you’re willing to do. A small surface pump with a 100-watt panel might run $300-500. A submersible setup with larger panels could be closer to $800-1,200.
Shopping around helps. Online retailers often have better prices than local stores on solar equipment. Don’t be afraid to buy good used solar panels either. As long as they still produce decent power, they’ll work fine for pumping water.
Start simple and expand if needed. You can always add another panel or upgrade your pump later. Some folks start with just enough capacity to water a garden and eventually build up to a system that supplies a cabin.
Important Considerations
Before you start any water pumping project, check with your county about regulations. Some areas have specific rules about well pumps, water rights, or solar installations. It’s much easier to ask upfront than to deal with problems later.
Also think about where your water is coming from legally. If you’re pumping from a well on your property, you’re usually fine, but surface water from creeks or ponds may have restrictions. Water rights can be complicated, especially in drier regions.
Maintenance is minimal but important. Keep your panels clean, check your connections occasionally, and clear any debris from pump intakes. A little attention goes a long way toward keeping things running smoothly.
Making It Work for You
The beauty of solar water pumping is that it gives you independence. Once it’s set up, you’ve got water without monthly bills, without depending on the grid, and without the noise and hassle of generators. The sun does the work for you.
Start by figuring out your specific needs. How much water, from where, to where, and how often? Then size your system accordingly. It’s better to start with a modest setup that meets your basic needs than to over-plan and never get started.
Remember that this is appropriate technology for rural land. It might not be as fast or powerful as city water pressure, but it’s reliable, affordable, and well-suited to the off-grid lifestyle. Thousands of people are using systems just like this to water gardens, supply livestock, and even support small homesteads.
Your rural land gives you the freedom to find solutions that work for your situation. A solar water pump is one of those practical tools that turns raw land into usable space. With a little planning and some basic DIY work, you can have water flowing on your property powered by nothing but sunshine.