

The Hidden Investment Goldmine: Off-Grid Land with Owner Financing
June 25, 2025Campfire Cooking: Tips for Cooking Outdoors on Your Own Property
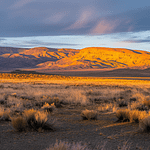
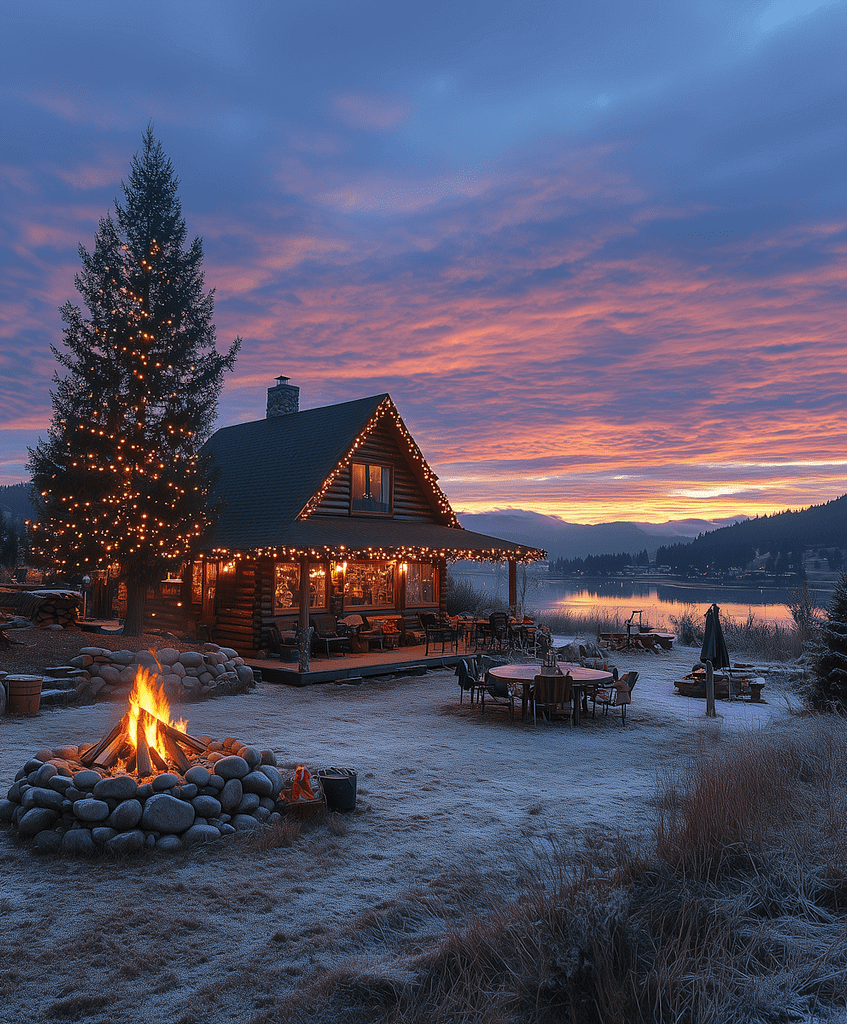
September 16, 2025There’s nothing quite like gathering around a crackling fire on your own property. Whether you’re roasting marshmallows with the grandkids or enjoying a cold beer after a long day, a well-built fire pit becomes the heart of your outdoor space.
Building a permanent fire pit isn’t rocket science, but doing it right means you’ll enjoy it for years to come. Let’s walk through how to create a safe, sturdy fire pit that’ll be the envy of your neighbors.
First Things First: Check Your Local Rules
Before you start digging or buying materials, make a quick call to your county office. This step might seem boring, but it could save you a major headache later.
Most counties have rules about fire pits. Some require permits. Others have rules about how far your fire pit must be from buildings, property lines, or dry vegetation. A few counties don’t allow permanent fire pits at all during certain seasons.
Don’t skip this step. Getting shut down halfway through your project (or worse, after you finish) is frustrating and expensive. Plus, if something goes wrong, your insurance company will want to see that you followed all the local rules.
Choosing the Right Spot
Location makes or breaks a fire pit. You want a spot that’s safe, convenient, and enjoyable to use.
Pick an area that’s at least 15 feet away from your house, garage, or any other buildings. Stay clear of overhanging tree branches and away from dry grass or brush. You also want to avoid low spots where water might collect.
Think about the wind patterns on your property too. You don’t want smoke blowing toward your house or your neighbor’s place every time you light a fire.
The best spots are on level ground with good drainage. If you have a slight slope, that’s fine, but avoid steep hillsides where sparks might roll downhill.
What You’ll Need
Here’s your shopping list for a basic 4-foot diameter fire pit:
Materials:
- 40-50 fire bricks or concrete blocks rated for high heat
- 2-3 tons of gravel for the base
- Sand for leveling
- Fire-resistant mortar (optional but recommended)
- A metal fire ring (optional but helpful)
Tools:
- Shovel
- Level
- Rubber mallet
- Measuring tape
- Garden hose or spray paint for marking
- Wheelbarrow
The whole project should cost between $200-500, depending on the materials you choose and whether you already have some tools.
Building Your Fire Pit Step by Step
Step 1: Mark Your Circle
Use a garden hose or spray paint to mark a circle about 6 feet across. This gives you a 4-foot fire pit with room for a gravel border.
Step 2: Dig the Foundation
Dig out the entire circle about 6 inches deep. You want a flat, even bottom. This foundation keeps your fire pit stable and helps with drainage.
Step 3: Add Your Base
Pour in about 4 inches of gravel and pack it down firmly. Add a thin layer of sand on top to help level your first row of bricks.
Step 4: Lay the First Ring
Place your fire bricks in a circle, leaving small gaps between each brick for airflow. Use your level to make sure everything is even. Take your time here – this first row determines how straight the rest of your fire pit will be.
Step 5: Build Up
Add 2-3 more rows of bricks, staggering the joints like you’re building with Legos. Each brick should sit on top of the gap between two bricks below it.
Step 6: Fill in Around the Pit
Add gravel around the outside of your fire pit. This creates a safe zone and helps prevent grass fires.
Making It Last
A few extra steps will help your fire pit stand up to years of use:
Use fire-resistant mortar between the bricks if you want extra stability. This isn’t required, but it helps in areas with freeze-thaw cycles or if you have curious kids who might try to climb on it.
Consider adding a metal fire ring inside your brick circle. This protects the bricks from direct heat and makes cleanup easier.
Keep a bucket of sand or a garden hose nearby every time you use the pit. Safety first.
Enjoying Your New Fire Pit
Once everything is set, let the mortar cure for at least 24 hours before your first fire. Start with small fires for the first few uses to let everything settle in.
Stock up on seasoned hardwood like oak or hickory. Avoid pine or other softwoods that create too much smoke and sparks. Never burn treated lumber, plastic, or trash.
Final Thoughts
Building a permanent fire pit is one of those projects that pays dividends for years. It’s not complicated, but taking time to do it right makes all the difference.
Remember to check those county rules before you start. Build on solid ground away from buildings and trees. Use the right materials. Take your time with the foundation.
Before you know it, you’ll have a gathering spot that brings family and friends together. There’s something special about a fire you built yourself on land you own. Enjoy every crackling minute of it.
Start Your Off-Grid Journey Today!
👉 Call us today at 720-773-1467 to discuss how we can help you find the perfect land for your perfect fire pit!
👉 Email us at land.info@westwardland.com with with what you’re looking for.
👉 View available properties at westwardland.com/properties and start building your vision today!